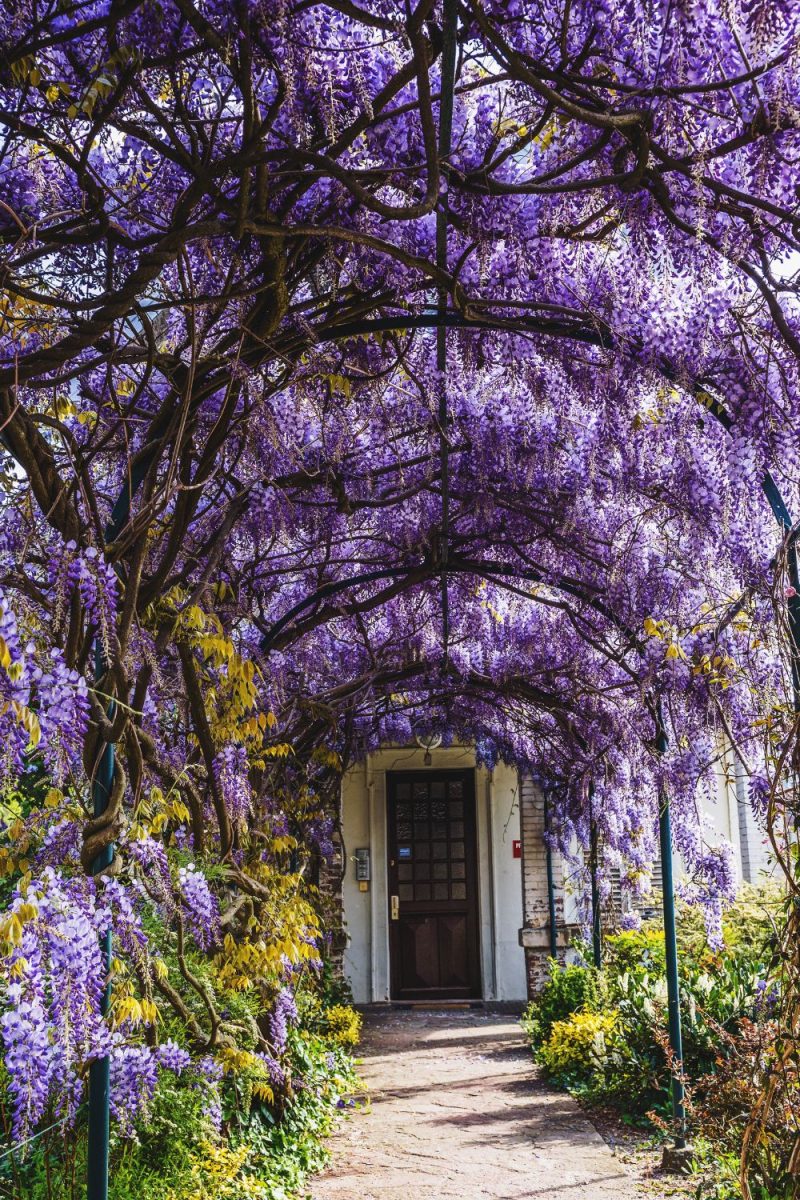
Wisterias reign most supreme in early spring. And I do so very love them. For me they are one of the most anticipated annual big bang flower power plants I wait for each and every year. When in full bloom they create a stunning grand sweep of magical enchantment and little to nothing can eclipse their unique magnificence. The total bugger is that they only last a few short weeks, but I suppose that may well be the reason why they are so treasured.
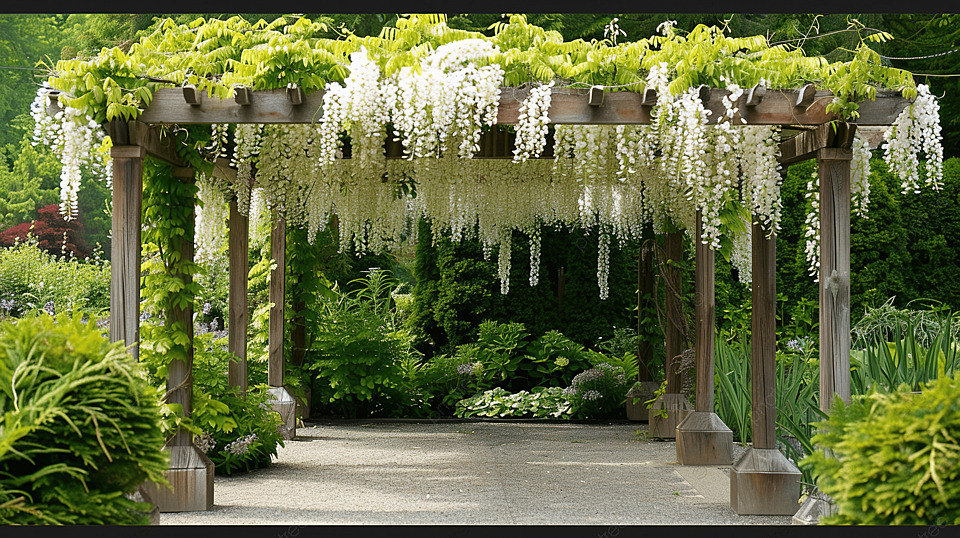
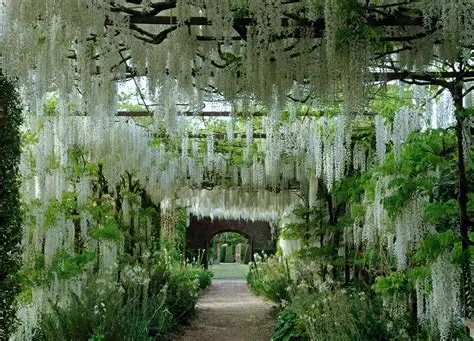
Their flowers descend and drape in long, thick curtains and then there is their scent. It drenches the air with an all-pervading heady perfume of pure delight.
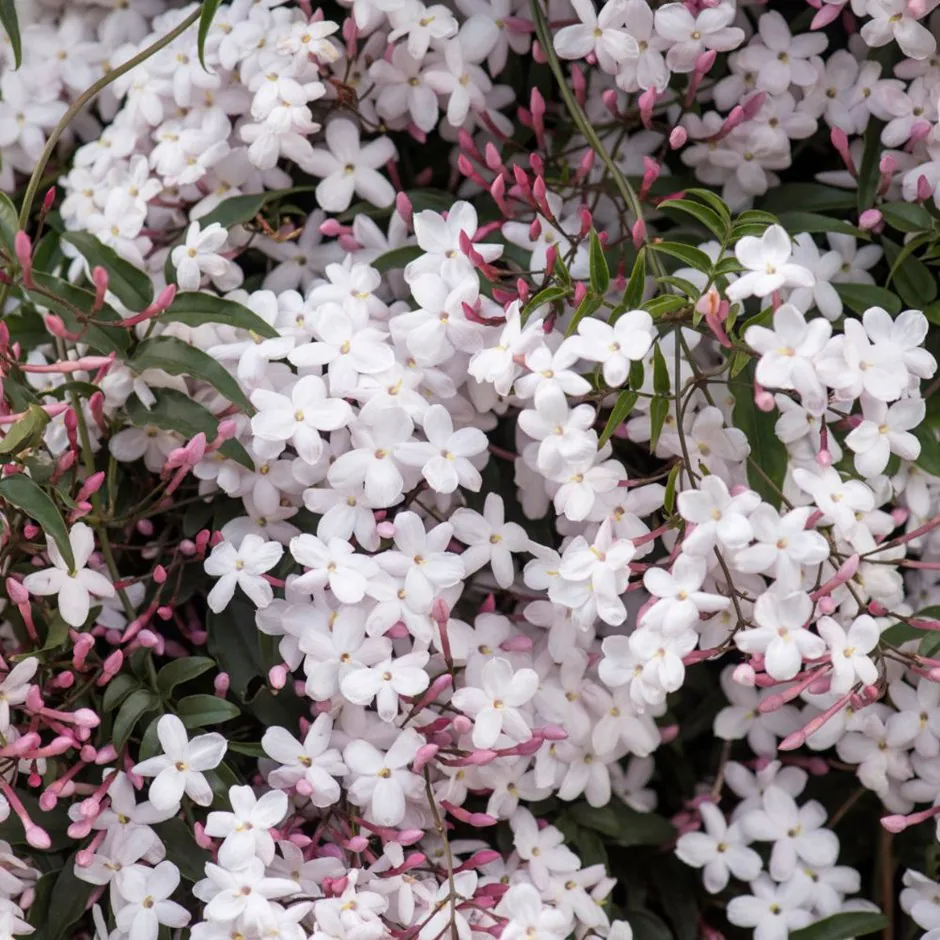
In my own garden I have four towering and aged pencil pines, estimated at least 40 years old, a good 20 metres in height and collectively at least 5 metres in length. A good decade ago, I planted at their feet a single white flowering wisteria. Over time it has chased its way up and across, threading and weaving along its whole length and climbing to pines’ full heights. When in flower it is truly sublime. Doubling up the visual splendour and intoxicating perfume are its partner, Jasminum polyanthum, which have also has grown up the through the pines just as the wisteria. A true sight to behold.
Also along my house wall plates threaded its way
Their longevity is astounding, a single specimen easily reaching hundreds of years in age.
Wisteria is a genus of flowering climbing vines belonging to the legume family Fabaceae. They originated in China, Japan, Korea and the USA. The genus was named after a philanthropist dedicated to the sciences, a German professor at the University of Pennsylvania, a Caspar Wister in 1818. There are three main species and two lesser-known others. it is best for you to understand the differences between the varieties for your climate, their suitability in growth and particulars of their flower performance.
Chinese wisteria, W. sinensis, twine in a clockwise direction. It has relatively short clusters of flowers, 18-30 cm in length. Their scent is very fragrant and possess a distinctive vanilla and honey perfume. The blooms appear on bare vines before the leaves emerge in spring.
Much fasster grower, far more fragrant, flowers alond the racemen flower all at onceIt is not as cold hardy as other varieties, for its early new growth can be clipped hard by late severe frosts, thus is best suited to warmer climates. That said, the white varieties of ‘Alba’ and the strongly scented ‘Jako’ with their 45cm long fragrant flowers can tolerate lower temperatures. There is also a reddish-purple variety called ‘Amethyst’, which is notable for growth is similar to ‘Jacko’.
W. floribunda is native to Japan and literally means lots of flowers. They bloom 2 to 3 weeks later, with smaller more widely spaced flowers that anti clockwise
They twine in a anti clockwise direction. //Their flowers have more and smaller individual flowers but in greater abundance and in longer clusters between 60-100cm in length. open progressively, beginning at the base of the cluster, a racemen. of bloom They bloom 2 to 3 weeks later than the sinensis and have a slightly longer flowering period and flower and leaf at the same time. ‘Macrobotrys’ have flower clusters1-2m in length. Also notable are the double mauve ‘Violacea Plena’, the palest lightest pink ‘Kuchibeni’.and the white ‘Shiro Noda’
w. Brachybostrys a second Japanese with shorter and wider flowers. Probably the best is
w. frutescens Longissima which features pale lavender to mauve flowers that will often grow up to 1 metre or more in length.
You should prune wisteria once a year but preferably twice, once in summer after flowering back to 5-6 buds and then again lightly in autumn. It is important not to prune in winter for you will cut off all that seasons forth coming flowers.
Wisterias will grow in practically any soil and after their establishment there is no need for further watering and fertilising. Please remember their roots and stems are highly invasive, they can suffocate and throttle, even corrupt and destroy a weak structure. Thankfully they are pest and disease free.
Like many commonplace plants, wisterias are poisonous. All parts of the plant contain the toxin glycoside called wisterine, which can cause vomiting, stomach pains and diareha. However, a large amount needs to be ingested to cause these symptoms.
So if you are thinking of growing a wisteria, please go ahead, its enchanting beauty is one not to be missed.
Happy gardening and have fun,
Regards Ned McDowell.