You cannot kill an Aspidistra. This indoor plant is the greatest of survivors, simply indestructible. I have had a very long love affair with this noble plant. They are the easiest and bestest of friends. They require little attention and are forever forgiving of forgetfulness and neglect. Their longevity is astounding. I always state that the plant is guaranteed to outlive you. The aspidistras common name is aptly called the cast iron plant. There is no other indoor plant that I recommend more highly.
If in fact you do achieve the impossible and murder one, please, I impeach you, give up immediately, and never buy another living plant again. Plastic plants or floral wallpaper are your only future options.
Very often I am asked by customers what is an indoor plant which will survive with little care and little light and the extremes of cold. Straight up I recommend the aspidistra. I declare that this plant can be thrown into a dark cold cupboard, shut tight the door, travel to Europe for 3 months, and upon your return, open the cupboard door, and the aspidistra will still be stubbornly alive. Yes, it will look mighty sad, its leaves collapsed and withered. Yet with a basic level of attention and care, it will be quickly revived and resurrected as the best and most decorative of all indoor plants.
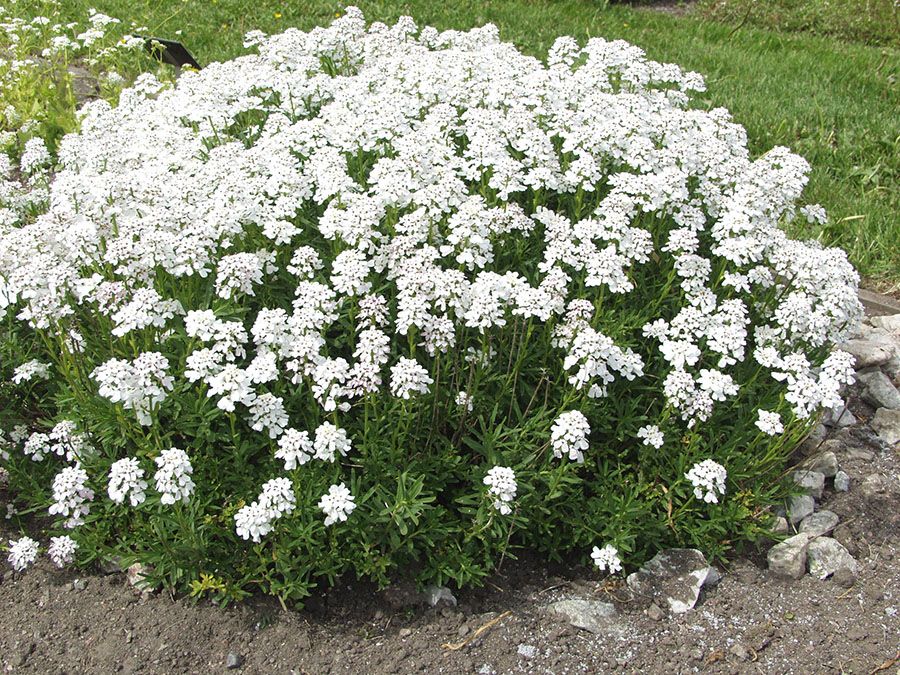
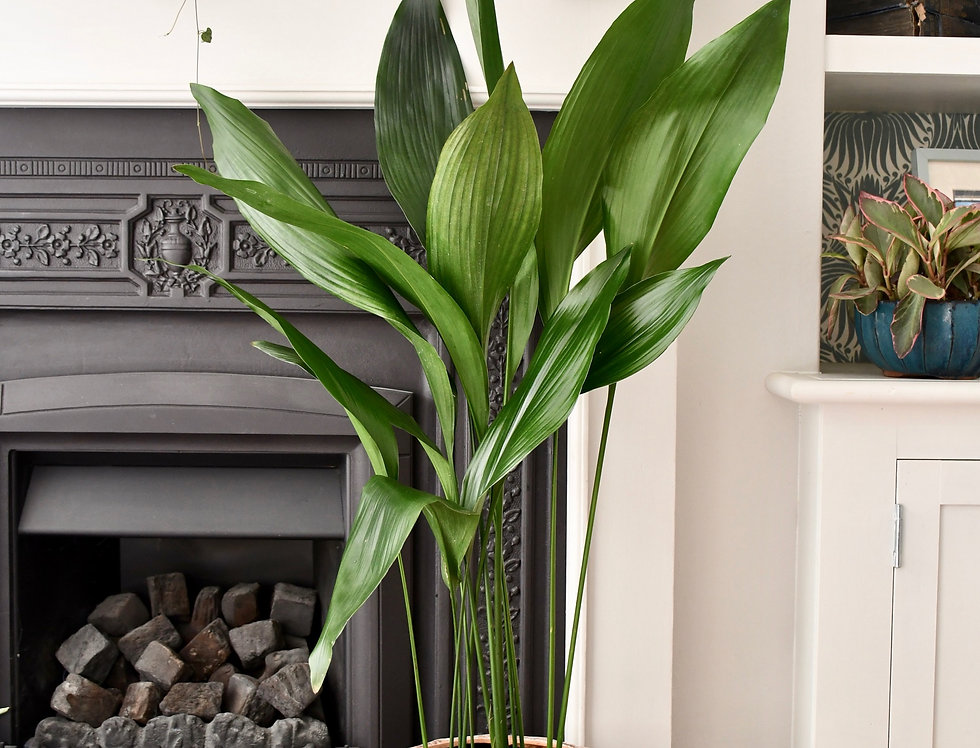
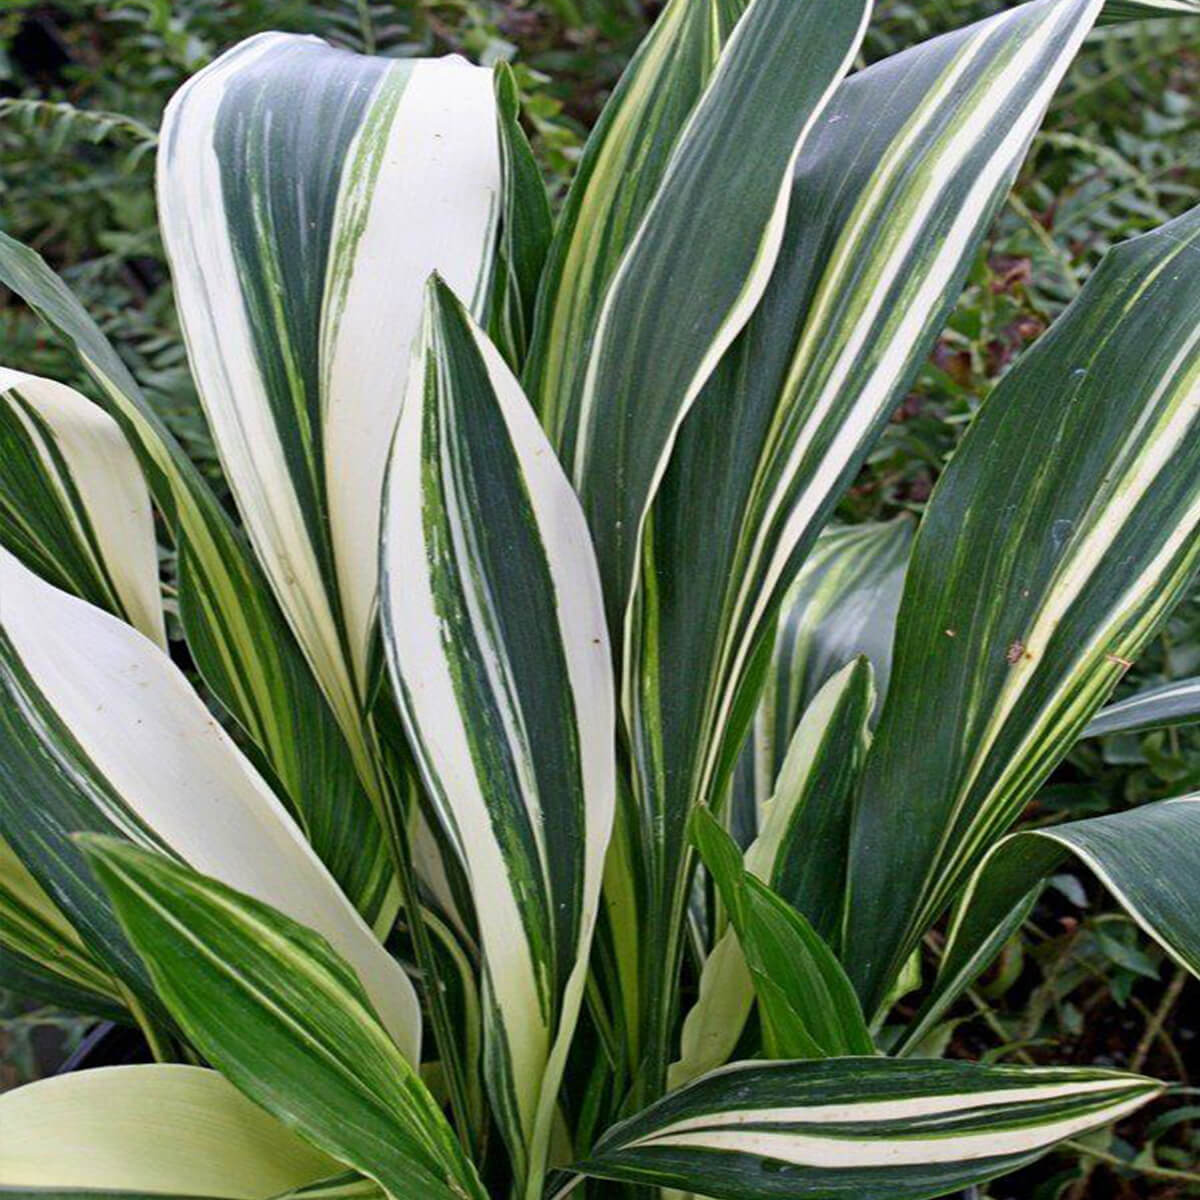
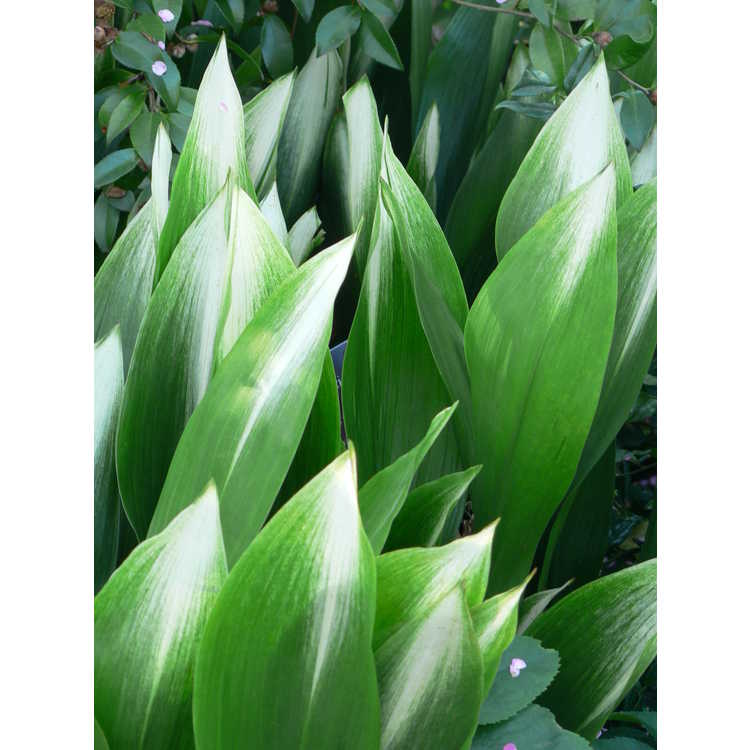
The Aspidistra is blessed with highly decorative shiny, dark green leathery leaves 50cm long, 10 to 20cm wide. The luxuriant leaves rise from a creeping rhizomatous root stock lying half buried in the potting mix. There is also a variegated form, highly sought after, with white- or cream-coloured stripes of varying widths running the lengths of the leaves. If you are mighty lucky you may be privileged to see one of their very rare flowers arising from the surface of the soil. There is another variety with small minute speckles on the leaves, but I find it downright ugly, for it looks like it is riddled with scale.
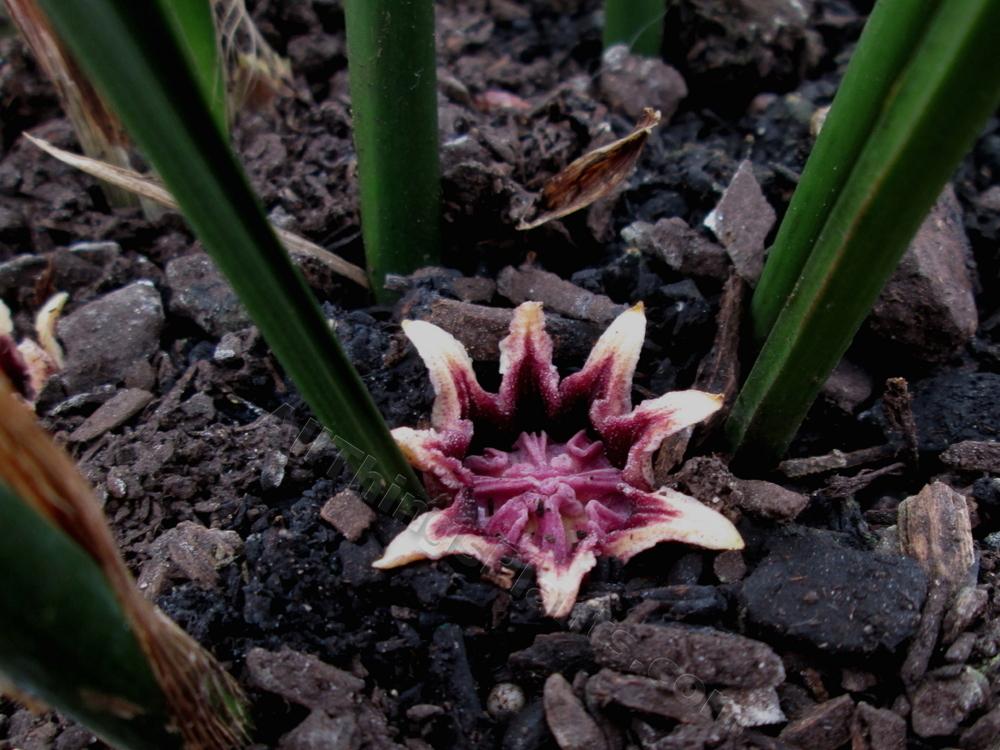
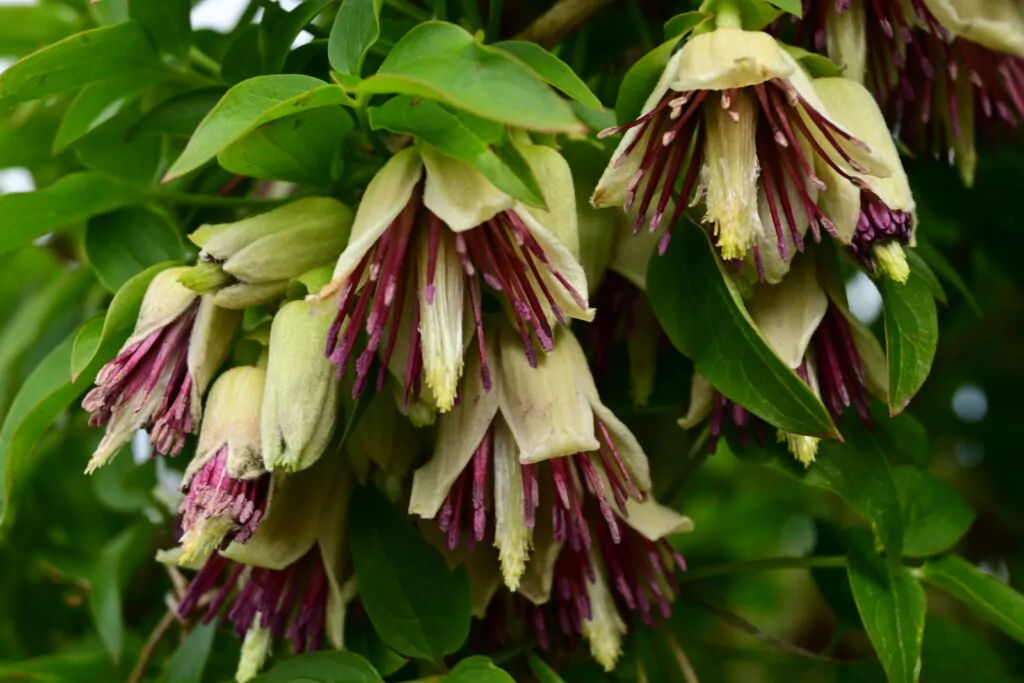
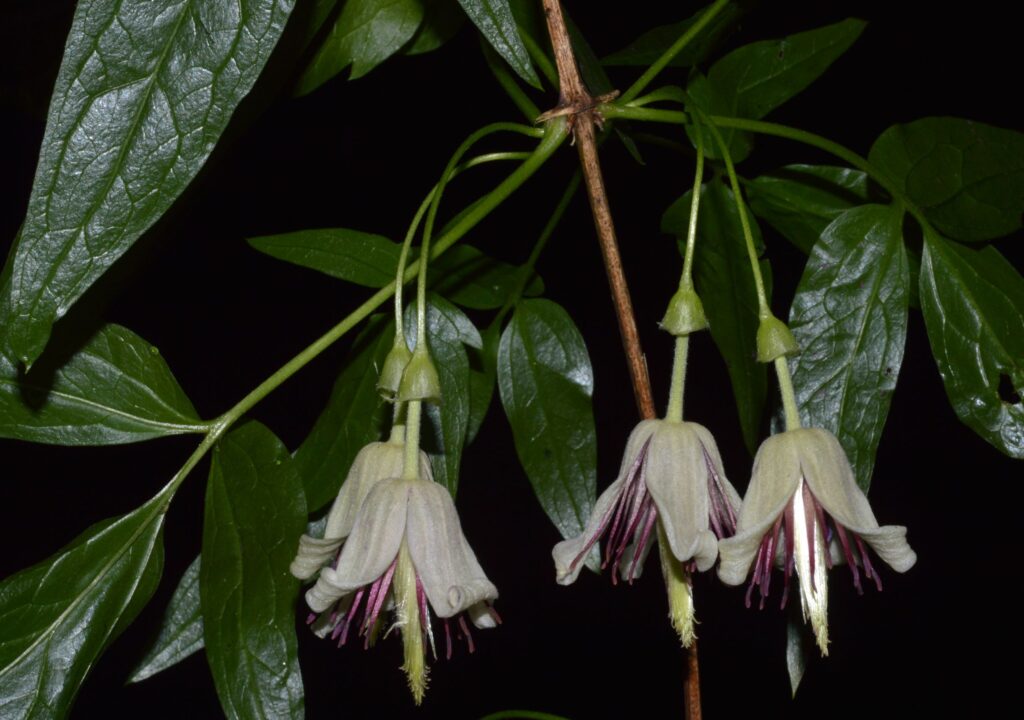
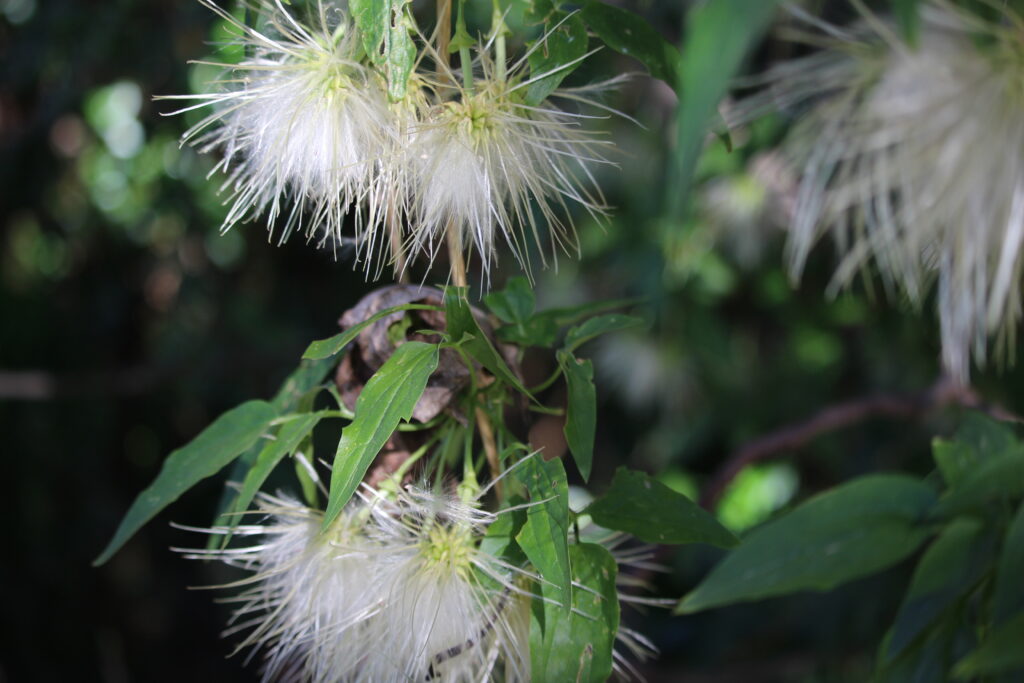
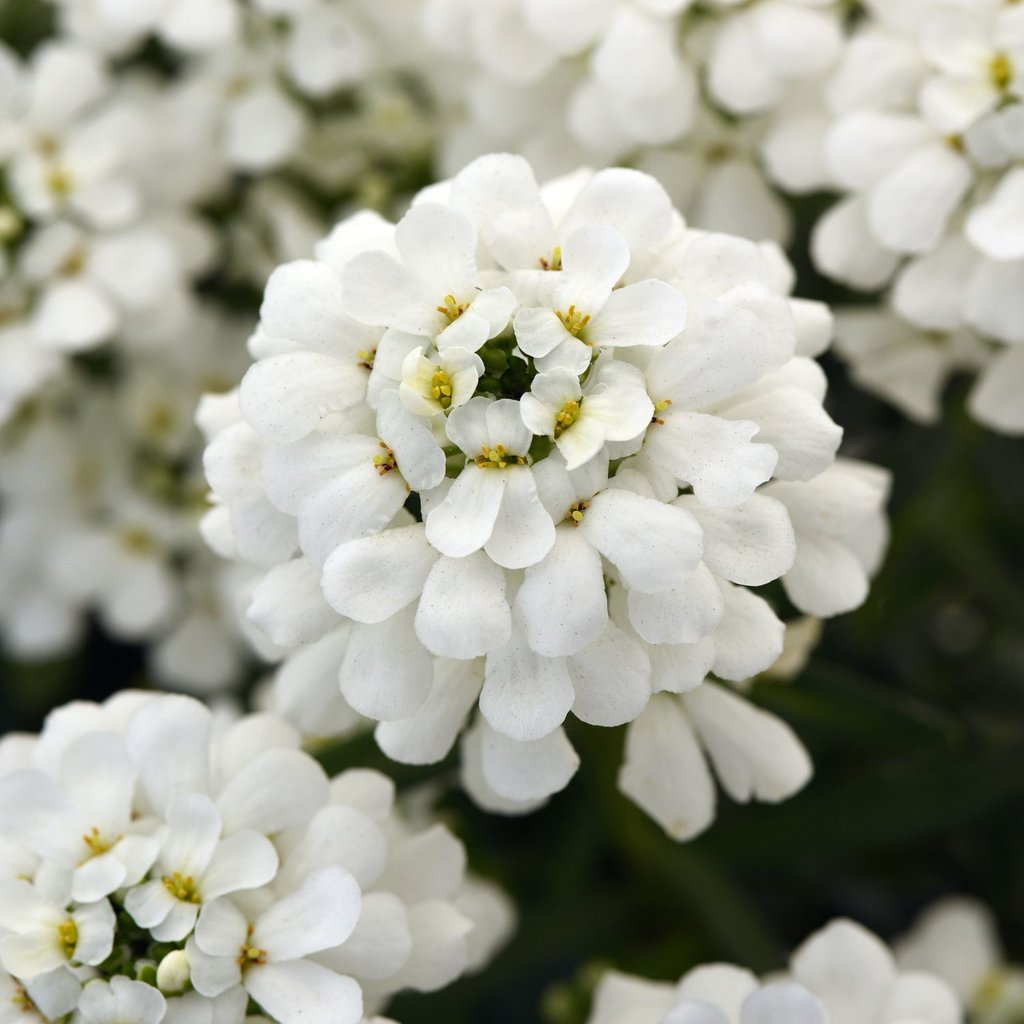
The Aspidistra originates from the Himalayas, China and Japan. In the past few years there has been a lot of modern hybridising of the plant, in Japan especially. The accompanying photos are testament to this. To date, few of them are presently available in Australia.
A bit of Imagination may be needed when initially purchasing your very first specimen. Firstly, I admit the young plants of aspidistras are not sexy. They can be casually overlooked when surrounded with other more tantalisingly coloured, shaped and textured exotic indoor plants on offer in a nursery. Aspidistras don’t scream I love you and take me home. Secondly, they are always only available in 200mm pots, displaying only 2 to 3 leaves and are marginally expensive. But don’t let that you put you off, look to the future and the rewards will be great, for you will never lose one single plant.
Cultivation
If I remember, and that is not often, when I water them, I rotate my many plants from poor levels of light to rich levels of light, and vice versus, in order to maintain their overall health and performance.
Positioning – optimal is a well-lit position, but will survive in the darkest of indoor areas, and if cultivated outside in the elements they will tolerate harsh frost and full sun.
Watering – every week in summer, in winter once every month, when I remember.
Fertilising – liquid fertiliser once a fortnight in summer. Again, when I remember.
Cleaning – sponge the leaves with water to remove dust, never with leaf shine or soap. Spray once a week with water. But I never remember for they don’t really need it.
Propagation
In spring I gently divide roots in half and repot in good quality potting mix, preferably suited for indoor plants.
Today my own collection of aspidistras numbers well into the high thirties. Each spring, when I remember, I split and divide every plant, instantly doubling their numbers. The majority are used as great gifts for birthdays and Christmas presents and most especially as housewarming presents.
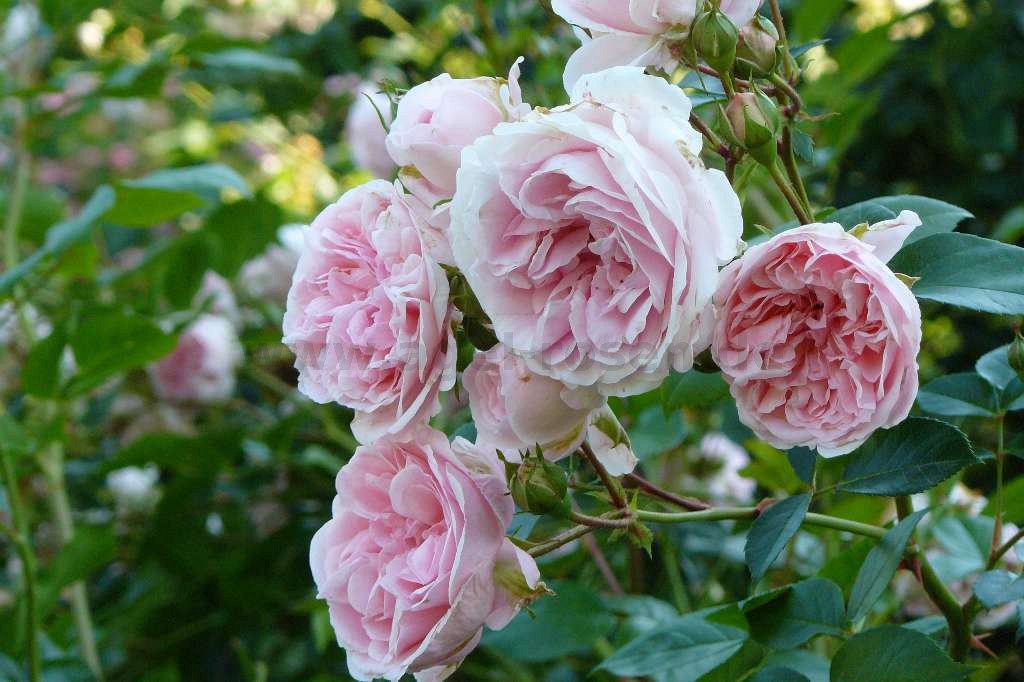
To my friends and family, I have casually declared, partially in jest, earnestly in truth, that I want the cut leaves of my many potted aspidistras to dress and adorn the top of my coffin. There will easily be more than enough. Then for a further layer, toss some strands of homegrown ivy and a generous layer of my David Austin roses and wallah, it will be just so perfect. With this great monetary saving, I can only imagine the extra money available to the mourners for bubbly. It should be great celebration. Now for the music. ‘See you later alligator’? I will get back to you on this one.
Happy gardening and have fun, both inside and outside the house,
Regards Ned McDowell